TABLE OF CONTENTS
3. Setting up the Custom Booth
1. Overview
Give your booth a 3D effect to make it more immersive by customizing background images, auto-play videos, and multiple external links.
2. Editing Booth
Step 1: Click on the "Booths" button and choose/click on the booth you want to edit.
Step 2: Click on "Edit Booth" Info from the top right side of the page.
If joining as an exhibitor, you would be able to access your booth directly in edit mode and can set up the booth accordingly from the access link provided on your email id by the event organizer.
Step 3: You will get an option to select the standard booth layout or customize the booth layout.
Click on the "Layout" option, select "Custom" and click on Edit Banner Design which will lead you to set up the customized booth.

3. Setting up the Custom Booth

The custom booth includes 3 objects that can be dragged and dropped on a canvas to set it up.
3.1. Background Image
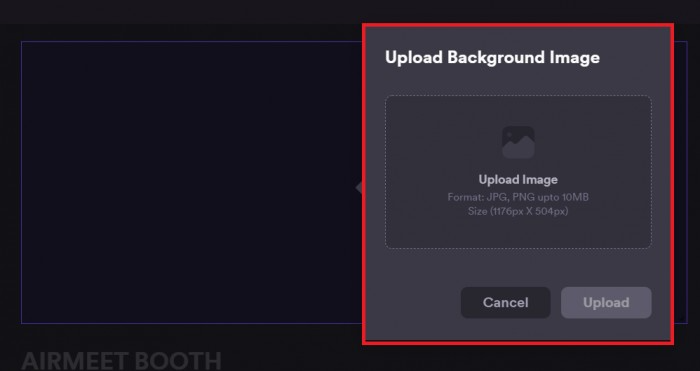
Add a “background image” (3D or a 2D image) by dragging & drop the background image object, upload your background image on which you can place videos or links
To edit or remove the image uploaded, kindly click on the uploaded image and select the delete option or edit option to re-upload the image.

Recommended dimensions - 1176px *504px. Supported formats - JPG, PNG. Maximum file size up to 10 MB.

3.2. Videos
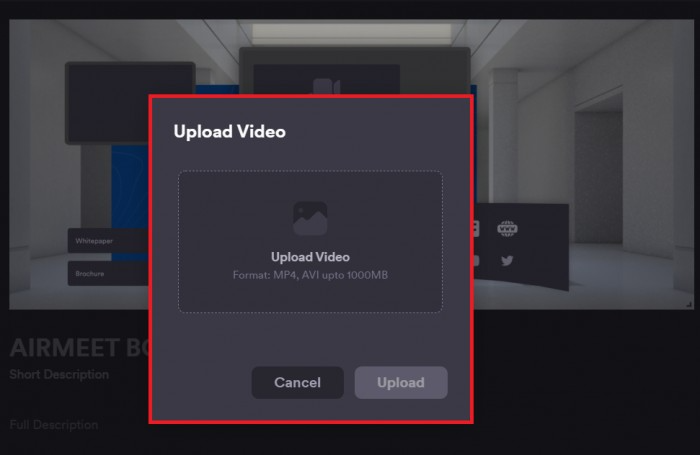
Add a video on the reception background image by the drag & drop video object and upload the video. You can place & resize the video once it's been uploaded.
Note: Videos will be on mute & auto-played by default. Attendees can un-mute and make the video Fullscreen at their convenience.
To edit or remove the video uploaded, Click on the “uploaded video” and select the “delete” option or “edit” option to re-upload the video.

Supported formats - MP4, AVI. Maximum file size up to 1000 MB.
Note: You can add up to 5 videos for an event.

3.3. Links
To add a link, drag and drop the links object and select a destination. You can place & resize the transparent link.
Customize Link: Add a name and enter an external URL which can be any resource link or social media link which will redirect visitors to the “external link” added.
Note: The link will open in another tab of the browser.

Final View

Need more help? Contact support@airmeet.com or visit our Customer Support Lounge.
.
Was this article helpful?
That’s Great!
Thank you for your feedback
Sorry! We couldn't be helpful
Thank you for your feedback
Feedback sent
We appreciate your effort and will try to fix the article

