

TABLE OF CONTENTS
1. Registration for the Airmeet event
4. Interactions in the Social Lounge
5. Interactions during the Session
Below are instructions for Attendees to join and enjoy the Airmeet event. You can also watch the video given below:
1. Registration for the Airmeet event
- Use the event link provided by the organizers to reach the event landing page. This page will display the event details like title, date, time description, etc.
- Click on the "Register for this event" button. You'll be requested to log in using your email or via LinkedIn/Google/Facebook/Twitter/Apple ID. Fill in your attendee card with your name and other required information.
Note: If the event is upcoming, you will find an option to add it to your calendar.

Once all the details are filled in, select "Enter," and you will be able to join the event.
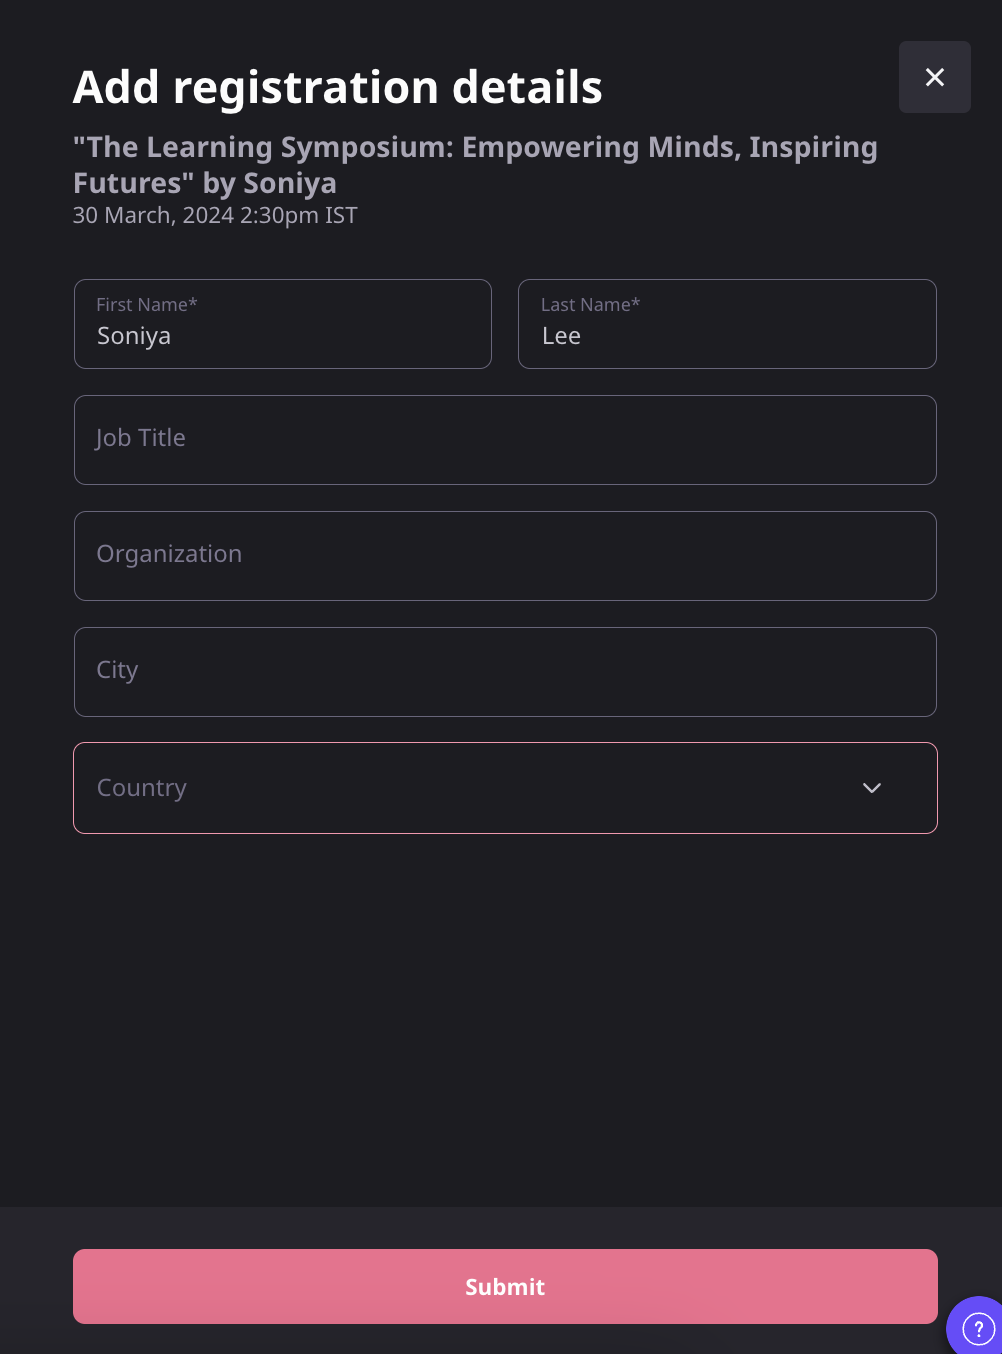
Note: If your Airmeet event is unlisted, the link provided will act as an authentication itself. You will only be required to fill in your Name, Designation, Organization, City & Country details to take you straight to the event.
An attendee can enter the event in different ways depending upon the event entry rules set by the organizer.
Reference Article - How to Enter Airmeet Events?
2. Enter Airmeet
As soon as the registration is done, you'll be landing on the Airmeet Social Lounge

3. View Sessions

On the Schedule, you will see the following information:
- Event Agenda
- Sessions Details ( descriptions, session date, start timings, etc.)
- Speaker Information
- Session Filters (Session types, Session tags, etc.)


4. Interactions in the Social Lounge
Now that you've entered the Airmeet, you can explore the following interactions:
1. If the session is live, you will directly view the stage/session.
2. If you land in the social lounge, it means that the session is yet to start. The area allows you to interact with other event participants and join different tables to meet people and have conversations.
Note: The Social Lounge is active before a live session, during session breaks, and after the session ends.

The event organizer also has the capability of disabling the social lounge.
Below are the interactions that can be experienced in the social lounge

1. Join tables: Tables may have labels and logos on top to inform participants about the conversations at specific tables.
You can join any table by clicking on the "Join" button below the table. If you want to leave the table, click on the "Cross (X)" sign in the top right corner of the table.
2. Notifications: During an event, the event organizer may have to deliver various information or direct people; you will be getting an announcement as a notification.

3. Table chat: You can interact with the other attendees seated at the table via chat as well. Click on the bottom-right chat icon. Anyone that joins the table will be able to view this chat as it is an open chat.


4. Table size: The table seats will be a minimum of 1 and a maximum of 8. In paid plans, the table seats can be increased for up to 30 people (depending upon the plan opted by the event organizer).
5. View profiles: Click on the display picture of any participant to view their participant profile under the "People" tab.
6. Discussion Table: If this feature is enabled by the event organizer, you can create your private table that will be automatically deleted after you leave the table.
Reference Article: As an attendee, how can I create my own table at the lounge?
5. Interactions during the Session
A countdown will be displayed when there are 10 seconds left for the session to start.
Once the session begins, you will no longer be able to access the Social Lounge. But you can initiate the following actions while the session is on:

1. React with Emojis: You can react and offer motivation or applause to the speaker by using emojis.
2. Raise Hand: If you want to interact with the speaker and the host, you can do so by selecting the "Raise hand" button in the stage's bottom control bar.
If the host accepts your request, you'll share the stage with the speaker and be visible to all participants.
3. Mute Stage: You can mute and unmute the stage by clicking on the mute icon.

4. Invite to the stage: The host can invite an attendee to the stage as a speaker. In this case, you will receive a request to become a speaker, and you can choose to "Accept" or "Reject" such requests.
5. Ask a question: You can use the Q&A section on the RHS to ask questions. We recommend you use this section to ask questions instead of using the general chat. You can also "Upvote" a question already asked to help hosts pick up questions based on popularity.
6. Chat: This can be a public event chat or direct/private chat. All the participants can view the general chat.
To have a private chat with a particular attendee.
6.1. Hover over the participant profile, click on the "Send Message" button, and write a message.
6.2. Hover over the chat of other attendees, click on the 3-dot button, and send a "Direct message."

Any attendee can choose to "Accept" or "Decline" the request for a private chat.
6.3 Report a message: If you come across a message with objectionable content, you can report it.
7. Polls: Participate in "Polls" conducted by the host & speakers during the event & sessions, respectively.

6. Help icon
Click on the "Help" icon (Question mark icon) on the bottom if assistance is needed (even during the live event). One can choose to visit our Customer Support Lounge for instant one-on-one support or opt for chat support, or choose to use the self-serve articles.
7. Quick Tips
For a flawless visualizing experiment on Airmeet, do keep the following in mind:
a) Use a Laptop and Google Chrome to join.
b) Have a stable and good internet connection. Disable VPN/Firewall if installed.
c) If you have difficulty seeing the speaker's feed, refresh the page/restart the browser, and ensure that you close any other video conferencing tools you may have used recently.
Need more help? Contact support@airmeet.com or visit our Customer Support Lounge.
Was this article helpful?
That’s Great!
Thank you for your feedback
Sorry! We couldn't be helpful
Thank you for your feedback
Feedback sent
We appreciate your effort and will try to fix the article