
Step 2: Provide the booth name and upload the booth logo along with booth tags for the attendees to filter out your booth according to their interests.
Add the email address of the exhibitor for that particular booth. You can add up to ten exhibitors per booth.
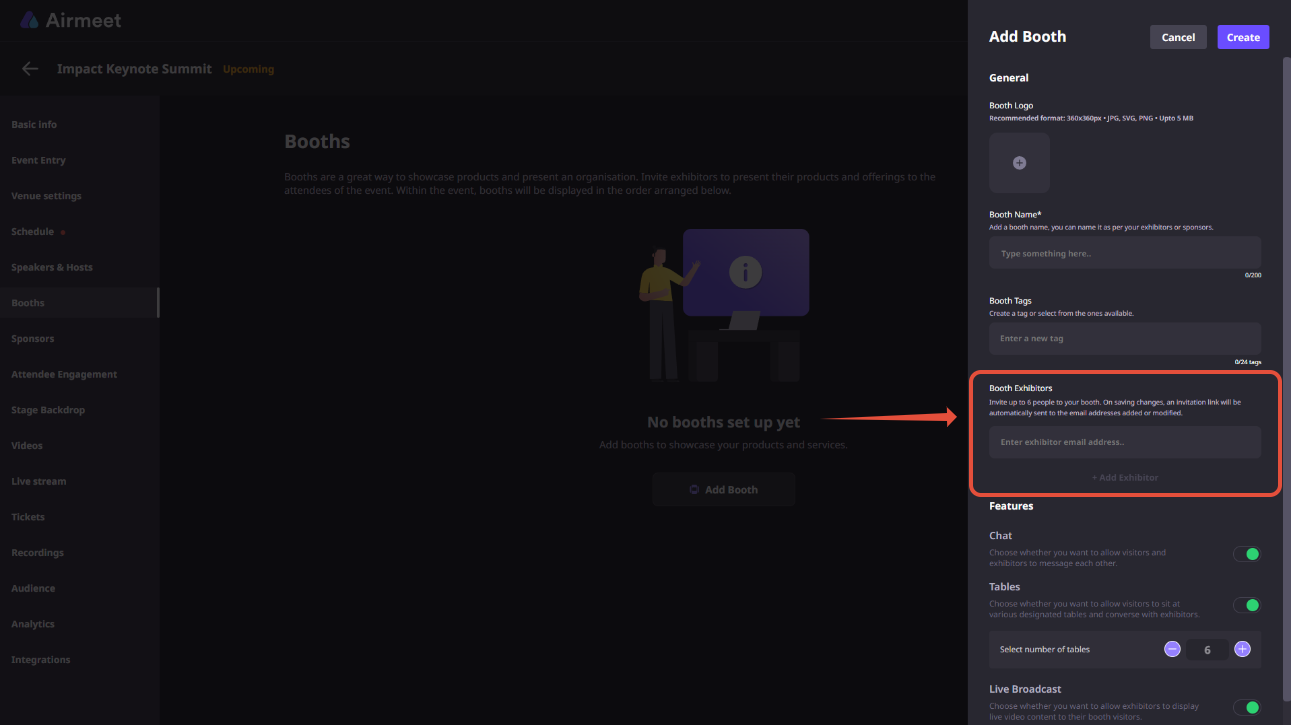
Step 3: Once the booth is added, Airmeet will send an automated email to exhibitors to access it and set up their booth before the event starts.
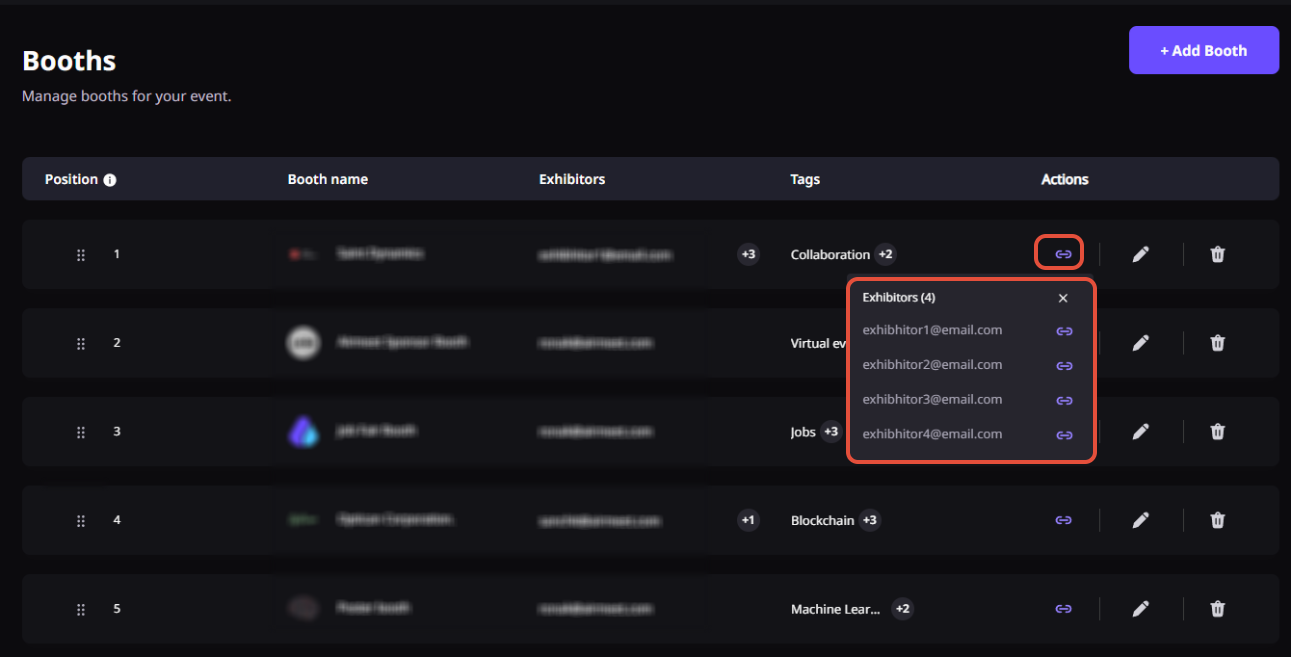
2.1. Copy the exhibitor's unique links
The event organizer can copy the exhibitor's link from the events dashboard and send it to the relevant exhibitor.
2.2. Send exhibitor invitation
The event organizer can also send the exhibitor's invitation link from the events dashboard and send it to the relevant exhibitor.
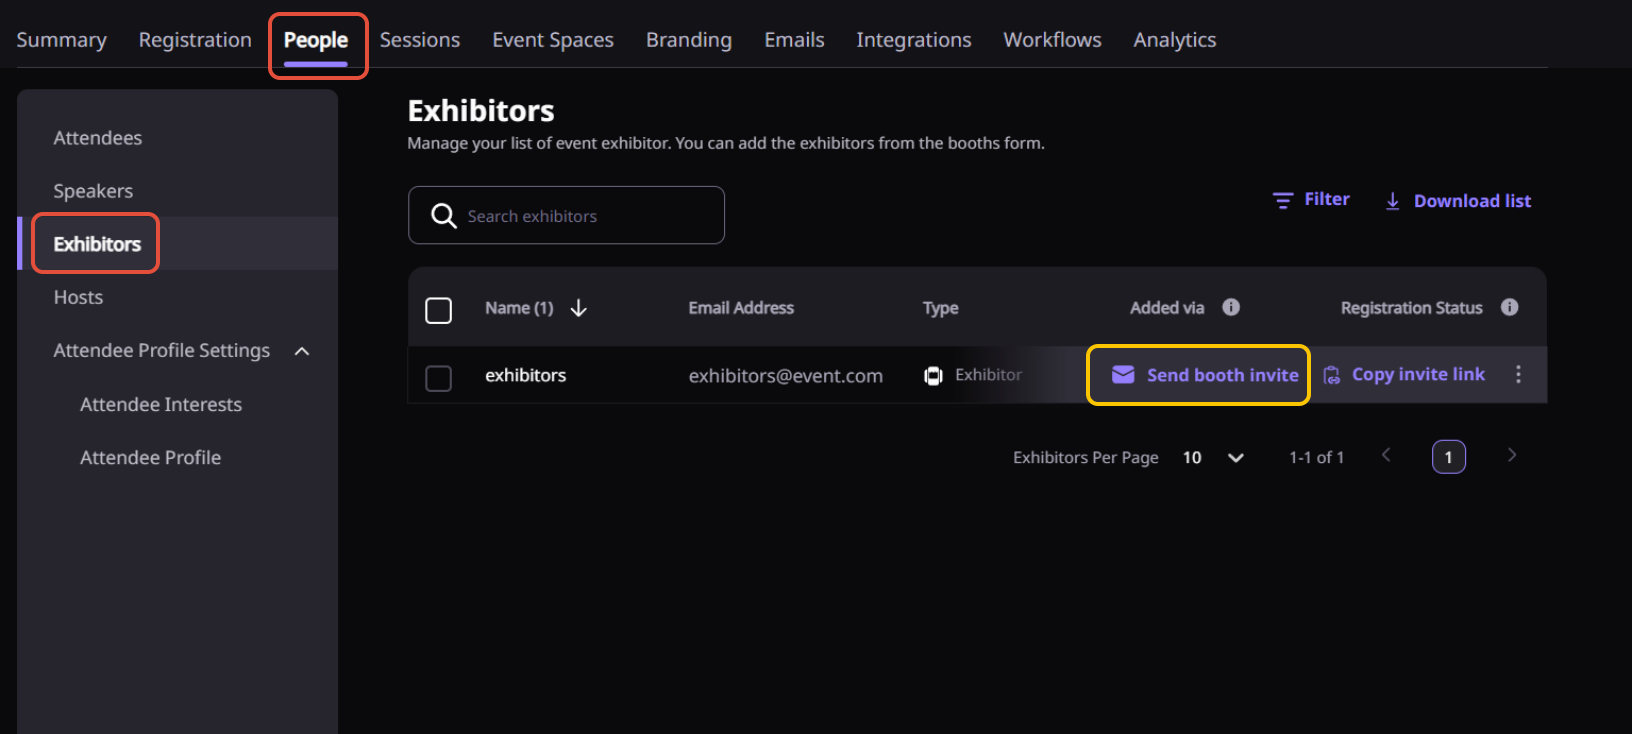
You can also multi-select exhibitors and send email in a single click as well.
3. Accessing exhibitor invitation
Note: If an exhibitor is added for more than one booth with the same email address, he can access the other booth from any of the links received from Airmeet.
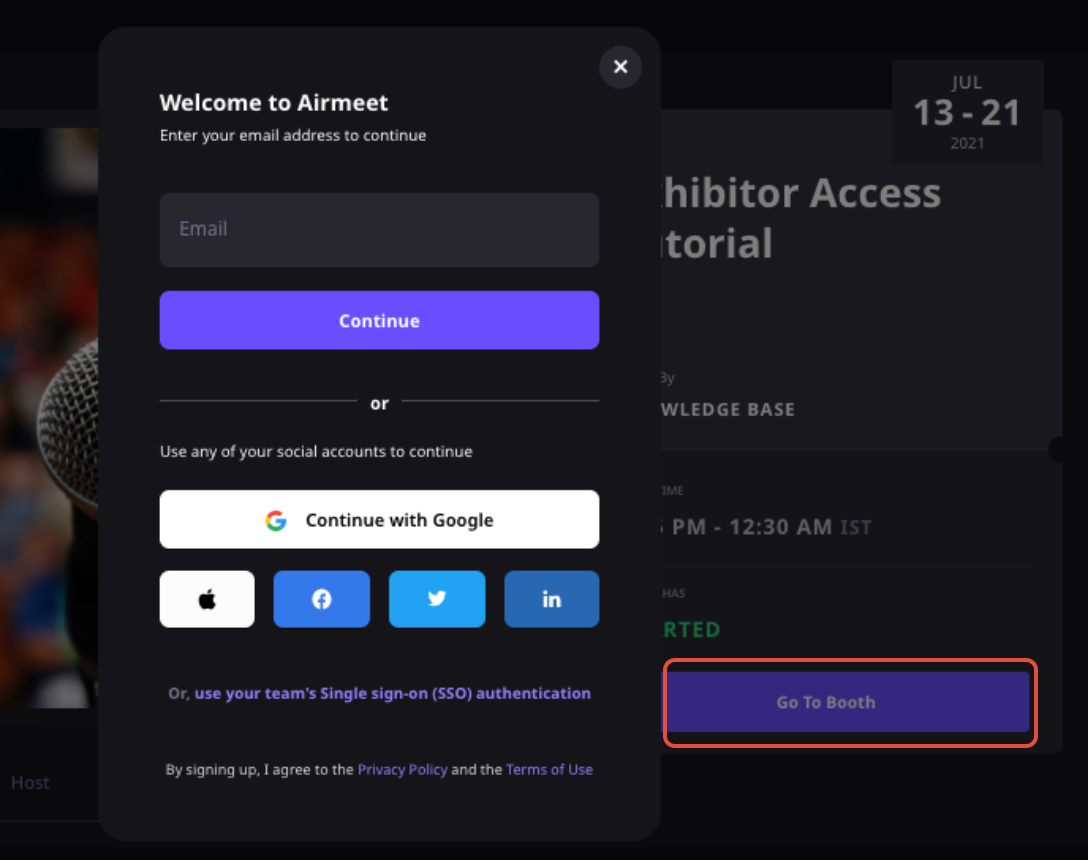
The exhibitor can access his booth via the booth access link sent to his email address by signing in with the same email address entered by the organizer and filling out the attendee card.
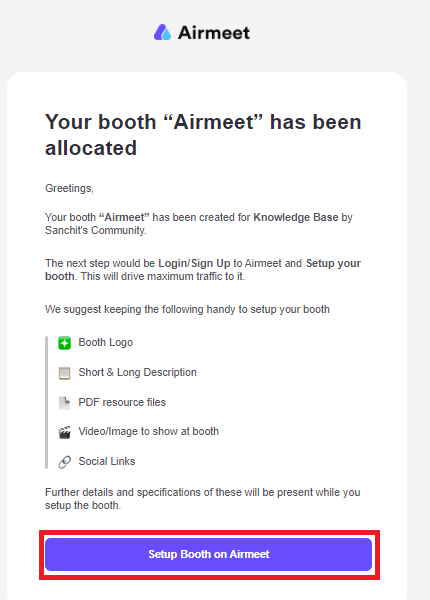
Step 4: After signing in, the exhibitors can edit and add all the content required for the booth setup, like banner image, banner video, external links, resources, and booth description, and save it accordingly.
Read about: How to set up booths in Airmeet.
4. Points to Remember:
1. Once the event has started, the exhibitor can participate in all other sections of the event.
2. The exhibitor has the virtual table 9th seat privilege (8 participants + 1 exhibitor) for their particular booth.
5. FAQs
Q1: If the exhibitor is also a speaker, then what happens?
The exhibitor can join a session from his exhibitor link sent via email by the organizer and then navigate to his mapped session and click on 'Go Backstage.' As soon as he joins backstage or in session, he will be tagged as a speaker.
Q2: Will the email with the unique link be sent to the booth exhibitor as soon as the event organizer adds his email to the dashboard?
Yes, the email is sent to the exhibitor simultaneously as soon as the organizer adds the exhibitor email ID and creates the booth on the dashboard.
Q3: Will the booth exhibitor be able to edit the booth tables?
Yes, the booth exhibitors will be able to edit the booth tables.
Q4: Can we add the same email address (add exhibitor) for multiple booths?
Yes, you can add the same email ID for a particular exhibitor. Eventually, he will get a separate email for every booth added by the organizer & will be able to edit the booth from any of the booth links sent to his email address.
Need more help? Contact support@airmeet.com or visit our Customer Support Lounge.
.

