TABLE OF CONTENTS
2. Join Airmeet upon invitation
3. Components of Application
4. Points to keep in mind
1. Prerequisites
Download the Airmeet application from the App Store
Application Size: 43.1 MB.
Compatibility: Requires iOS 13.0 or later.
Permissions Requested By the Airmeet on Ipad
Microphone - Joining using built-in audio devices if joining on stage requested by a host of that session.
Camera - Sharing your video if joining on stage is requested by a host of that session.
Notifications - Allows Airmeet to display notifications for chat messages, upcoming meetings, and more.
2. Join Airmeet upon invitation
Use the unique invite link provided to you by the organizer to enter the Airmeet Event.
This link is unique to you as a speaker, and only you should log in using this link. However, if you choose to share this link with anyone, it will appear on the Airmeet with your name and details.
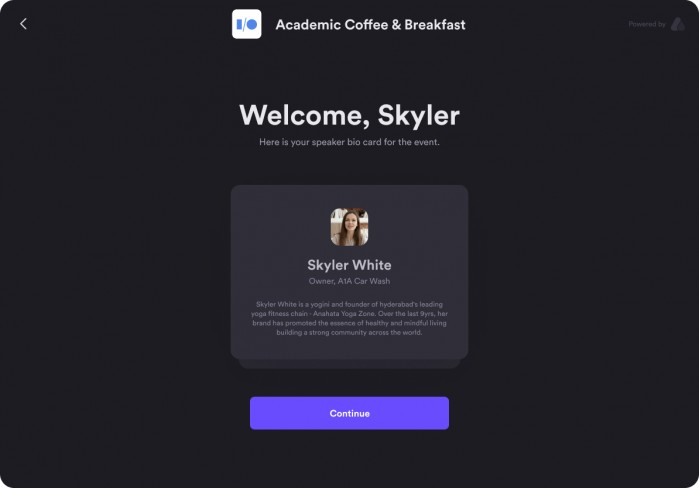
Once the link is entered, you will see a speaker card with your details such as name, designation, country, and description. Click “Continue,” and you’re in!
Note: As a speaker, you do not have to register for the event.
Use the link provided to you by the organizer to enter the event.
If someone uses your unique link, your name and information will appear on their screen
3. Components of Application
1. Schedule Tab
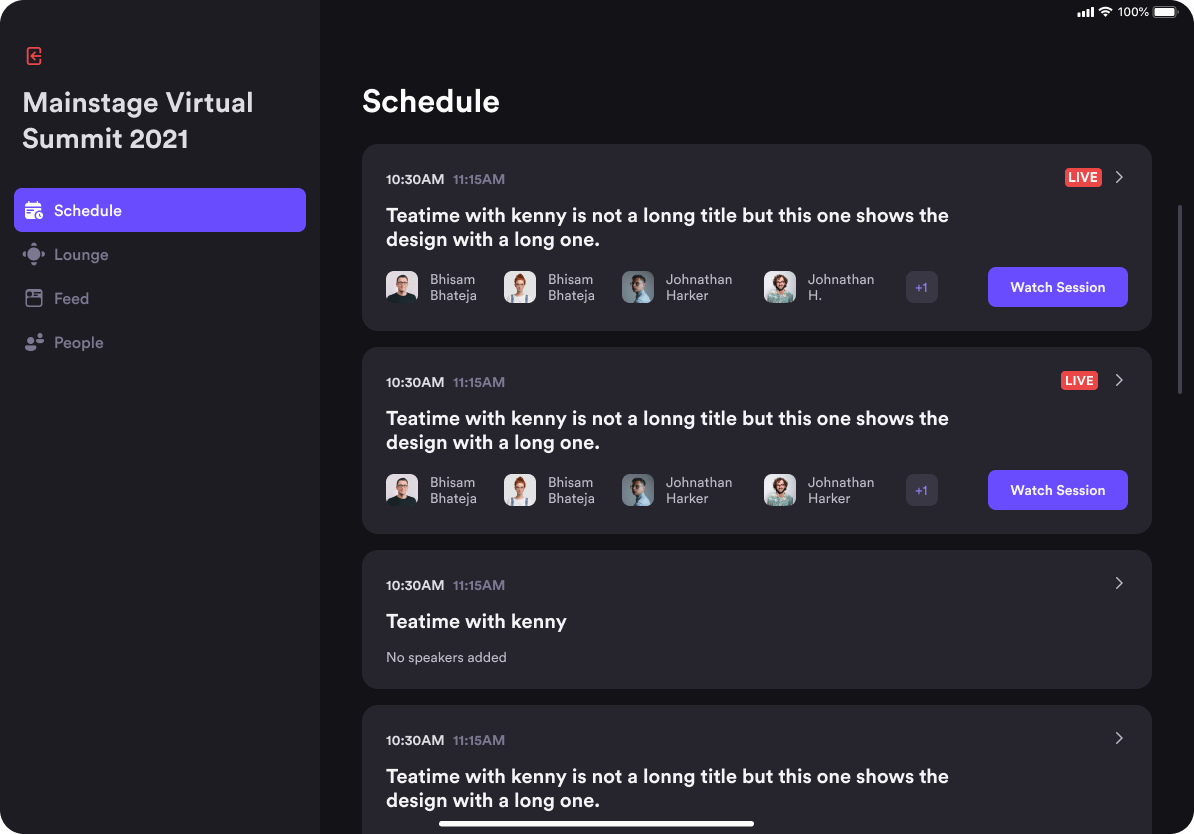
As soon as you enter the event, you will land on the schedule section, where the session details are provided. The schedule includes a list of all sessions with session host and speakers details and the event agenda.
You will see the Go Backstage button on the session you will be mapped session and join by clicking on it.
You can test your audio & video to avoid last-minute surprises and interact with the host and other speakers, getting to know them before going live.
Once everything is in order, the host can start the session. A countdown of 10 seconds will indicate that the session is about to begin.
2. Commence Session
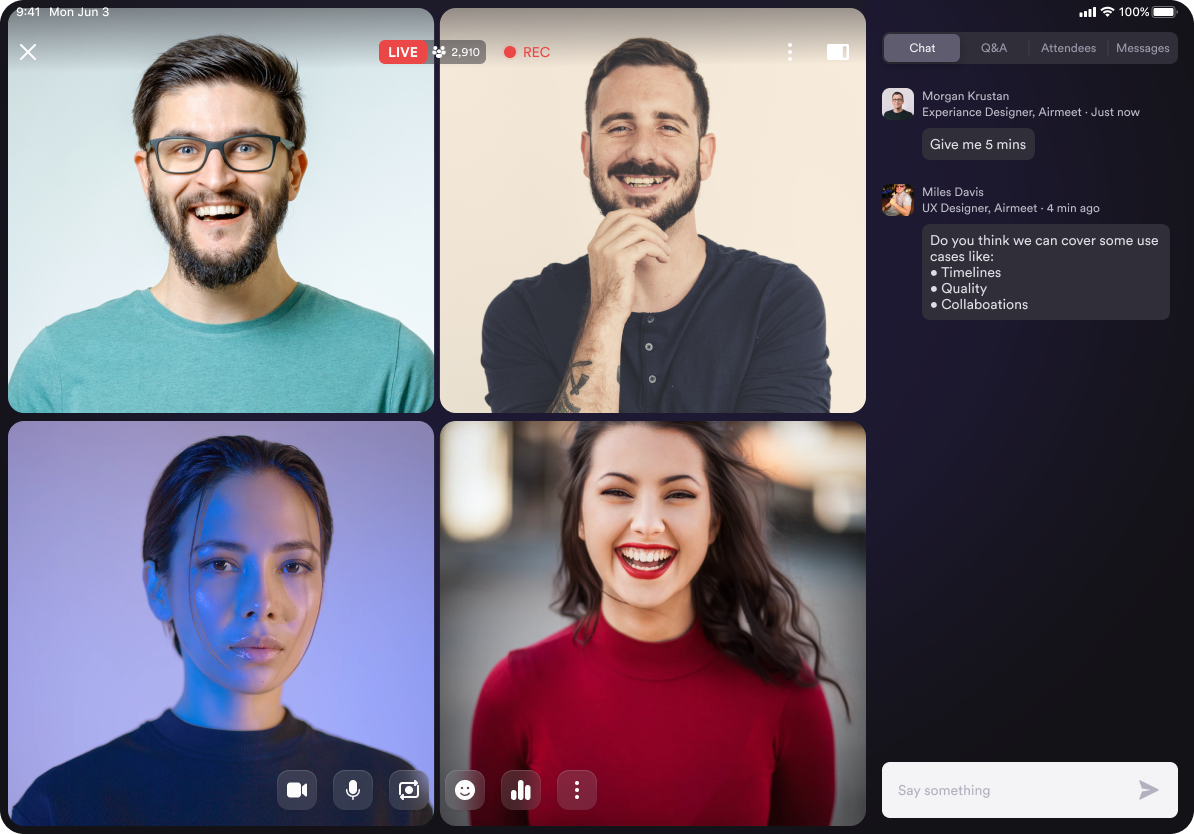
Once the session has begun, you can participate and present your content. Remember that a Speaker is always visible to all event participants unless you switch off your camera. The buttons to control the Video & Audio appear at the bottom center of your screen.
All chats, emojis, and questions the attendees pose will be visible to you. If an attendee uses the “Raise Hand” feature, the host can moderate and accept or dismiss the request.
Once accepted, the attendee shares the stage with the speakers for the interaction.
3. Lounge Tab
The social lounge is the virtual space where the attendee can be seated at any table, move across the table, and interact with those on the same tables in a mini-virtual conference now available on the iPad application.

4. Feed Tab
This tab shows the public chat, which can be sent by everyone attending the event to make it more engaging.
5. People Tab
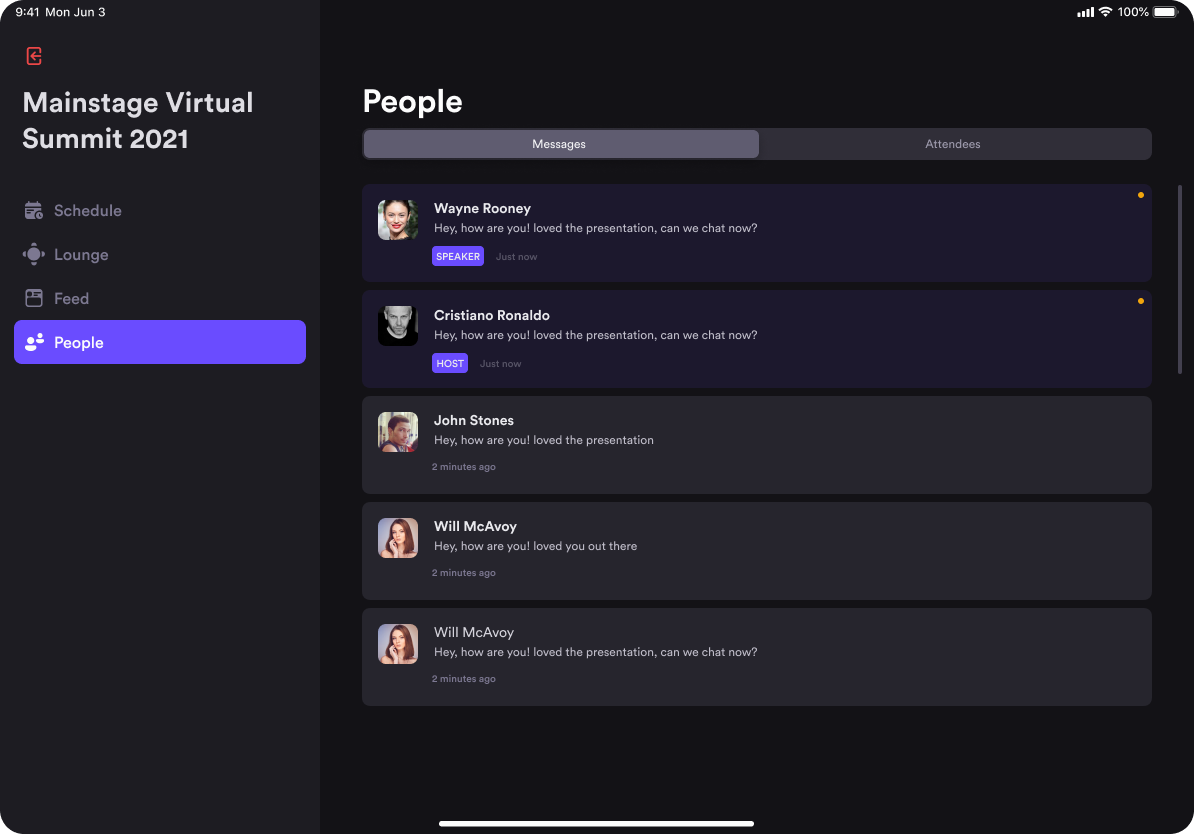
This tab shows the list of all the attendees present at the event. You can view it in a grid view or a list view.
Participants can also send or view direct messages from this tab. Click on the profile icon of the attendees and start a 1:1 conversation with them on a private chat.
4. Points to keep in mind
1. As a speaker, you can’t share your screen on an iPad application. For screen sharing, sign in via laptop/desktop.2. Speakers joining the event through the application will not be able to access the event or join backstage of the mapped sessions before the event starts.
We recommended you access the pre-event from a Laptop/Desktop.
3. This app is especially recommended for speakers ONLY.
A community team member or host/co-host can not join through the application.
Need more help? Contact support@airmeet.com or visit our Customer Support Lounge.
Was this article helpful?
That’s Great!
Thank you for your feedback
Sorry! We couldn't be helpful
Thank you for your feedback
Feedback sent
We appreciate your effort and will try to fix the article


