


Airmeet has three different templates of booths that the organizer can use to enhance participants' experience:
1. Standard Booth template: Displays the booth banner along with the booth logo, resources, and social media links on a single page.
2. Custom Booth template: A fully customize booth having the option to embed a video and transparent clickable links to redirect your participants to different resources & social links.
3. Posters: Showcase a multi-page document to your booth visitors along with all other features.
Video guide:-
Steps to follow: -
Step 1: Click on the Booths button on the top left-hand side of the event page and choose/click on the booth you want to edit.

Step 2: Click on Edit Booth Info from the top right side of the page.

After clicking on the "Edit Booth " option, you will see three layout options to select, i.e., Standard Layout, Custom booth layout & Posters based Layout

The uploaded PDF will be shown as in the screenshot below.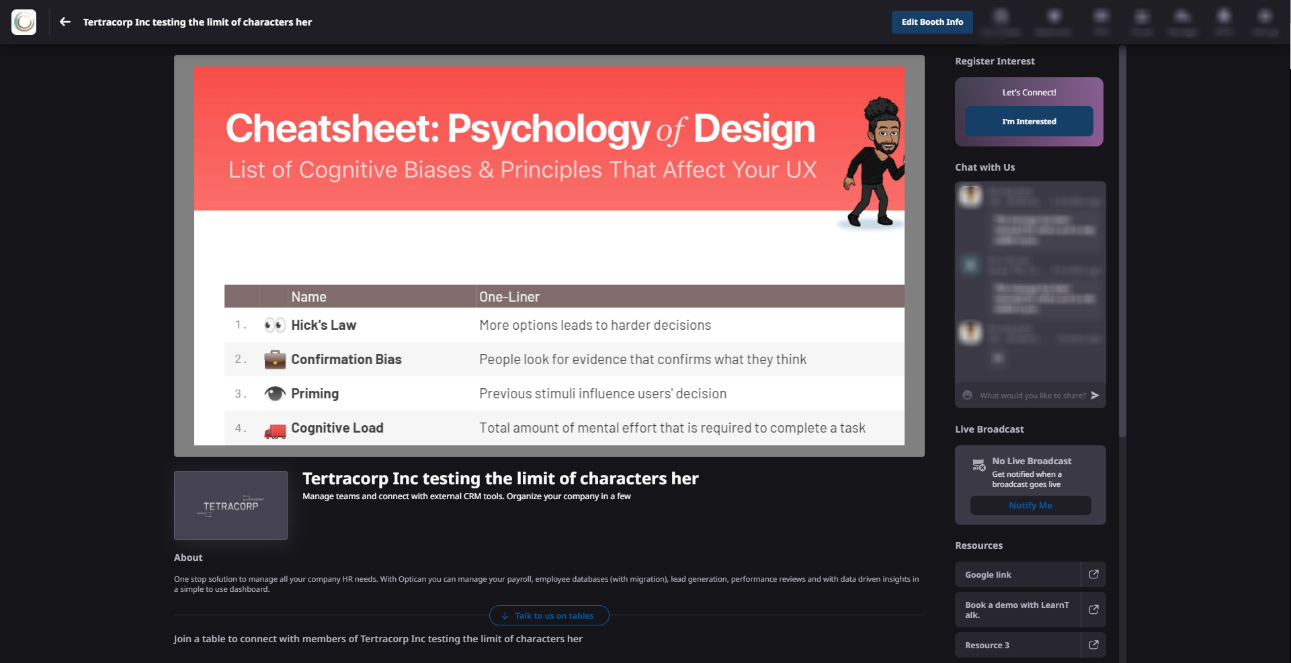
Standard Booth Setup
a) Booth Logo and booth Banner
You can add a booth logo(960px*480px) and booth banner(1200px*400px) by either clicking on the tab or simply dragging your content to a specific tab.

Also, you can add a video to your booth by inserting a video link into the Banner Video space.
Note: Banner video can only be added through the link.
URLs, such as video file paths supported, can be from YouTube, Facebook, Twitch, SoundCloud, Streamable, Vimeo (publicly listed), Wistia, Mixcloud, and DailyMotion. Loom videos are an exception.

b) Booth Descriptions: -
Add booth descriptions
1. Short descriptions: up to 80 alphanumeric characters
2. Long descriptions: up to 2000 alphanumeric characters.

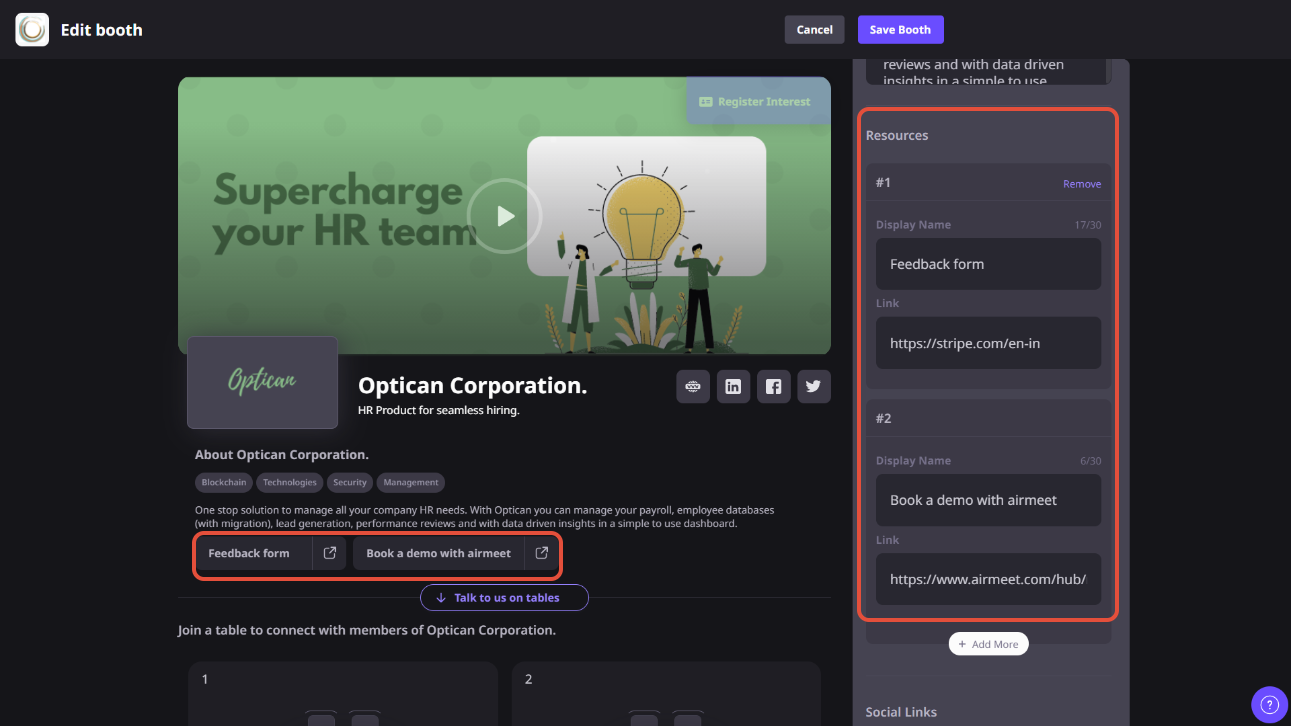
c) Booth Resources
Add resources to the booth so that the prospects can have access to the extra information about the exhibition or the products or services exhibited. The resources link will be hyperlinked to the booth. You can only add up to five resources in a single booth.
d) Booth Social Media Links
You can also connect with the prospects or promote your exhibitions through social media such as LinkedIn, Facebook, Twitter, YouTube, Instagram, Snapchat, Discord, Tiktok, or a website link.

Note: Kindly disable any ad blocker incase you are unable to see social media icons while setting up the booth.
Custom booth does require the booth banner & logo to be uploaded and a description of the booth. You can add up to 5 videos and any number of links to your customized booth image.
The custom booth includes 3 objects that can be dragged and dropped on a canvas to set it up by clicking on the "Edit Banner Design".

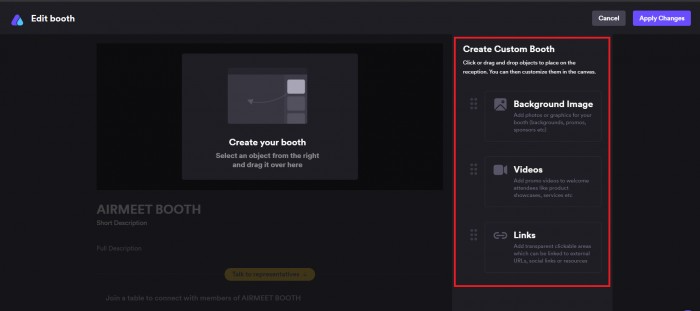
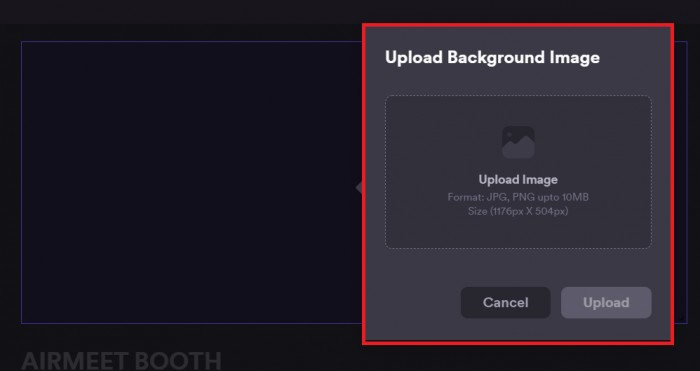
1. Background Image: Add a “background image” (3D or a 2D image) by dragging and dropping the background image object. Upload your background image on which you can place videos or links
To edit or remove the image uploaded, kindly click on the uploaded image and select the delete option or edit option to re-upload the image.
Recommended dimensions - 1176px *504px
Supported formats - JPG, PNG, SVG
Maximum file size up to 10 MB.
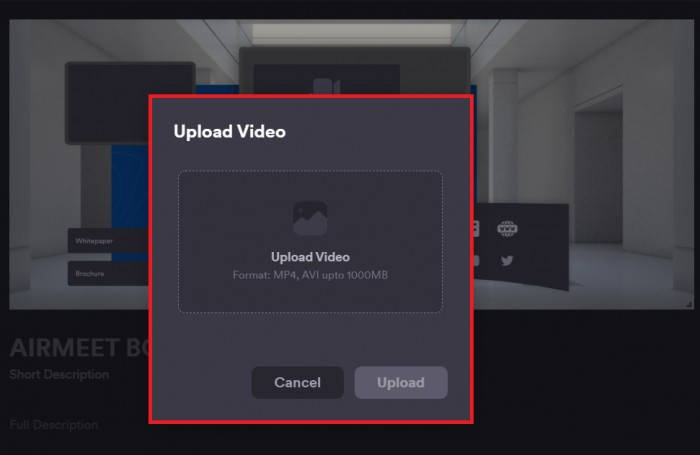
2. Videos: Add a video on the reception background image by the drag & drop video object and upload the video. You can place & resize the video once it's been uploaded.
Note: Videos will be on mute & auto-played by default. Attendees will have the option to un-mute and make the video fullscreen at their convenience.
To edit or remove the video uploaded, Kindly click on the “uploaded video” and select the “delete” option or “edit” option to re-upload the video.

Maximum file size up to 1000 MB.
Note: You can add up to 5 videos for an event.
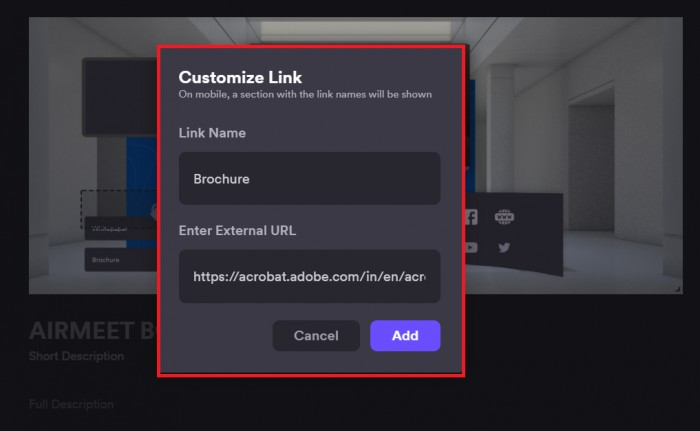
3. Links: Add a transparent clickable area by which it can be linked to the areas of the event or any external links. To add a link, drag and drop the links object and select a destination. Then, you can place & resize the transparent link.
Customize Link: Add a name and enter an external URL, any resource link, or a social media link. This option hence will redirect all attendees to the “external link” added.
Note: The link will open in another tab of the browser.
Final View: -

Posters Layout
Showcase a multi-page PDF document to your booth visitors along with all other features.
To upload a PDF document to your booth, kindly follow the steps.
Step 1: Click on "Edit booth info", then click on Layout, and select the "Posters" layout.
Step 2: Upload the PDF Document from your computer.
Maximum supported File size: 200 MB
Recommended Aspect ratio: 16:9

Do not forget to "SAVE" your information.
4. I'm Interested (Lead generation)
The "I'm Interested" button is used to lead sales generations. Once the prospects click on it, the information is stored about the same and shared with the event organizer after the event has ended. The host can then send those prospects' information to the exhibitors.


