Step 1: Sign up or sign in to Airmeet.
Step 2: Create an event and add all the required details on the dashboard.
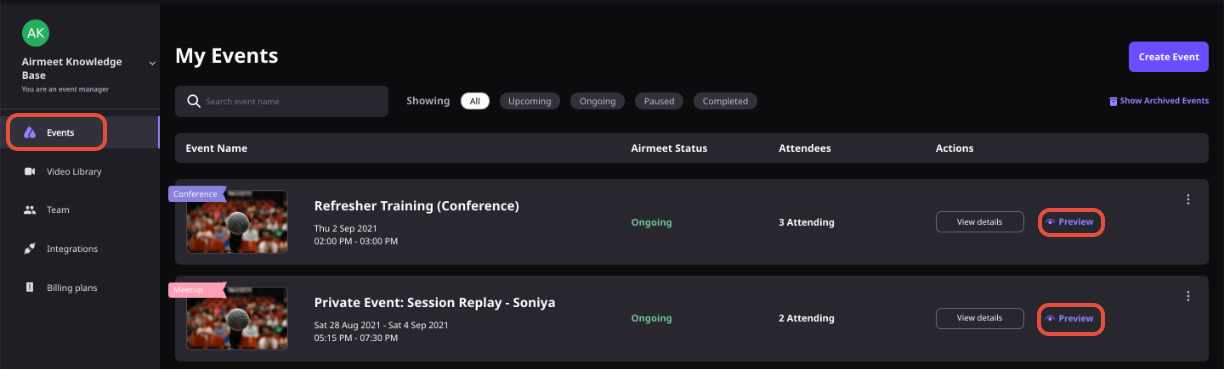
Step 3: There are two areas where you can find the “Preview Airmeet” button
a) On the Community dashboard, click on the “Preview” button on the desired events from the "Events" panel.
b) On the Event dashboard, click on the “View Event” button in the top-right corner of the page.

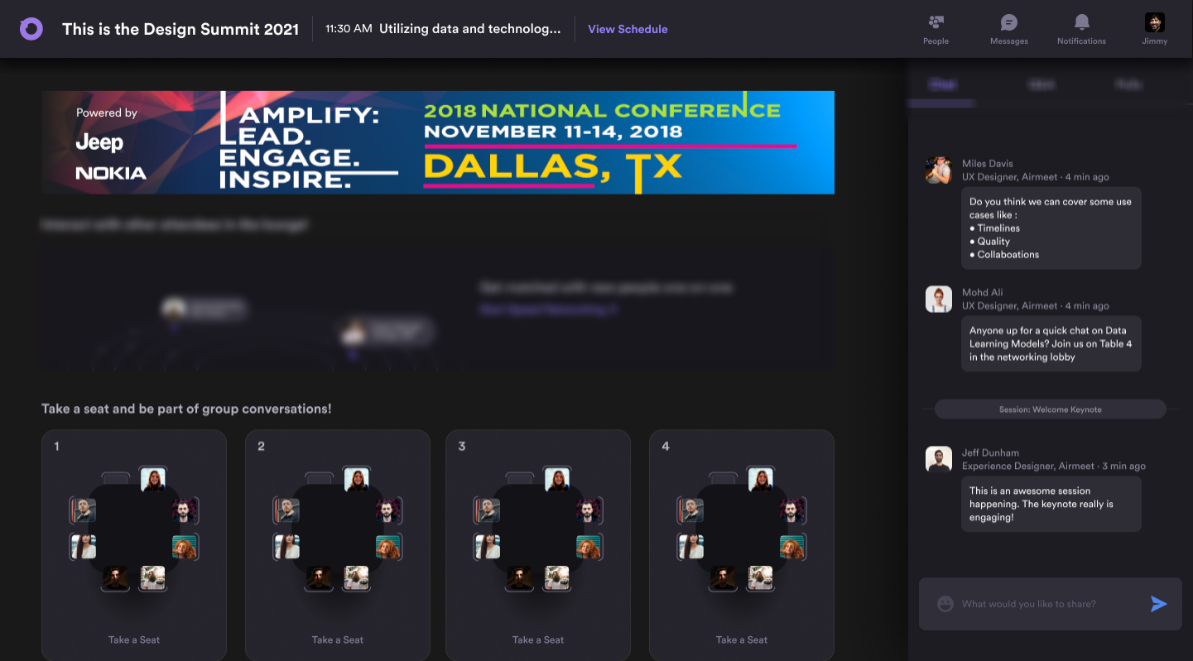
It will lead you to the lounge (in Virtual Event format) and the reception page (in Virtual Conference format).
You can click on "Resume Event" (in case of paused Airmeet)


You can pause, end, and restart the Airmeet event again from the event dashboard.
Once the event is paused, you can again set up and edit your event by clicking on “View Event” from your dashboard, which redirects you to the event, and the organizer can customize the event.

Setup Lounge: The event host will set up tables, add text or images, and save changes before the event starts.
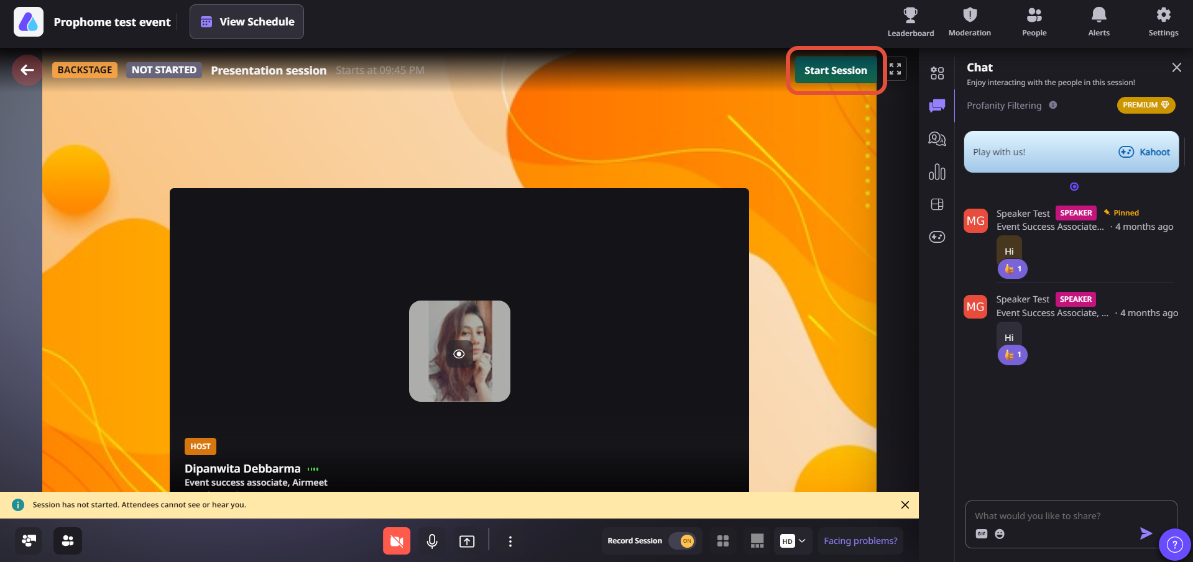
Go Backstage (session dry run): Mapped Speakers and the session host/co-host can go backstage and check for the audio and video tests and have a quick discussion for the set session agenda.
Update : Other team members (EM) can also join backstage and update the lounge & draft polls in preview mode as well.
The host won’t be able to start the session as it's in a preview state.
As soon as you click on “Preview Airmeet” on the dashboard, it will lead to the reception page of the event. Following are the event organizer's controls in the conference format.
Setup Lounge: The event organizer can set up tables, add text or images, and save changes before the event starts.
Go Backstage (session dry run): Mapped Speakers and hosts can go backstage, check for the Audio and video test, and have a quick discussion on the set session agenda.
Note: The host won’t be able to start the session as it's in a preview state along with session chat, and polls would only be enabled when the event is marked as started.
Edit Booths: You can edit booth name, images (logo, banner), descriptions, table information, etc.
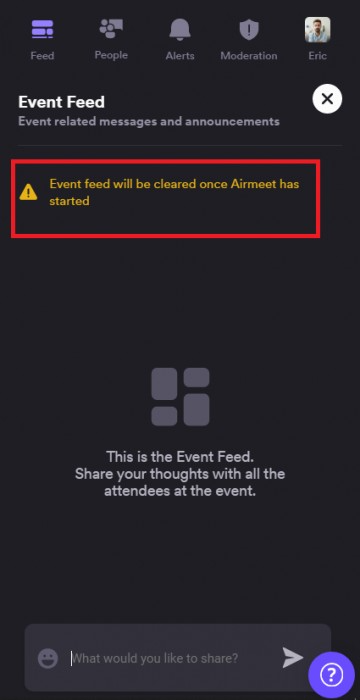
Event Feed: As a dry run, you can send event chat in the feed tab to show your speakers and exhibitor how it works.
Note: The RHS features such as chats, Q&As, polls, etc. are now available before the Event starts (View Event) will be available in preview mode for dry runs and rehearsals.
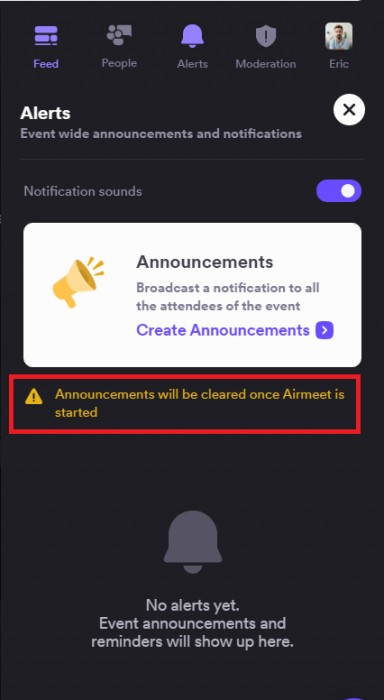
Announcement: Announcements or Alerts can be sent for the speaker and exhibitor to glimpse how it works and for the event organizer to have a hands-on to using the feature efficiently.
Note: All the announcements will be cleared off as soon as the event is started. Once the event has started (in the case before the date or time) by the event organizers, the announcements/alerts wouldn't be cleared after being from the pause state to the live state.
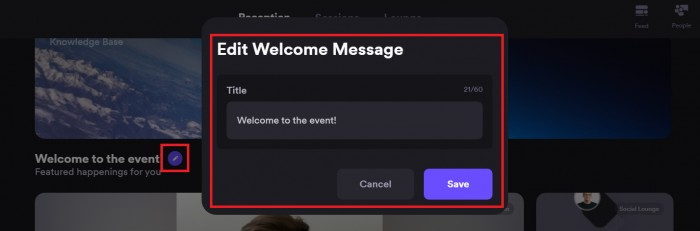
Edit Welcome message: The event organizer on the reception page can edit the welcome message (applicable in the default venue layout) in advance.
- Customize Settings: You can also customize the following:
1. Your Event Settings: (dark and light mode, color theme, event experience such as turning on and off Live chat and Q&As, hiding people in the event, attendee count and Airmeet feedback rating, and reception label editing (for conference format).
2. Your Profile Settings: (Name and other required information).
3. Audio & Video Settings
4. Navigate to Dashboard: Click on it to go straight to your event dashboard.
5. Change Language: Change the language of your preference (all the languages may not be available)
6. Exit: Click on it to exit the event.
Step 4: Once your setup is done, and you’re good to go, you can click on 'Start Event' from the event itself or the event dashboard.,
Note: If you have already set up an event and want to edit the tables and booths. You can choose that specific event from the dashboard, click on “Preview,” and follow the above steps.

Note : Automated reminder emails to participants won't be sent if the event has been started by organizer prior to the actual event date.
4. Points to Keep in Mind
Ticketing sales wouldn’t be affected even if the event is live or in a preview state. The behavior of ticketing remains the same.
Booth Exhibitors can edit the booth in any event state using the unique link sent to them on the respective email address or by registering & logging in using the same email address entered by the event organizer.
The host won’t be able to start the session as it's in a preview state.
Need more help? Contact support@airmeet.com or visit our 24*7 Support Lounge.

