

TABLE OF CONTENTS
2.1. Configure your virtual table
2.2. Leaving/Deleting the virtual table
2.3. No of the participants supported Airmeet plans
1. Overview
Give control to your Event attendees to set up lounge tables.
The event organizers can allow event attendees to set up their tables to have an open group conversations and roundtable discussions with this feature.
Event organizers will have the access to moderate these tables and delete them at any time.

2. Create a new virtual table
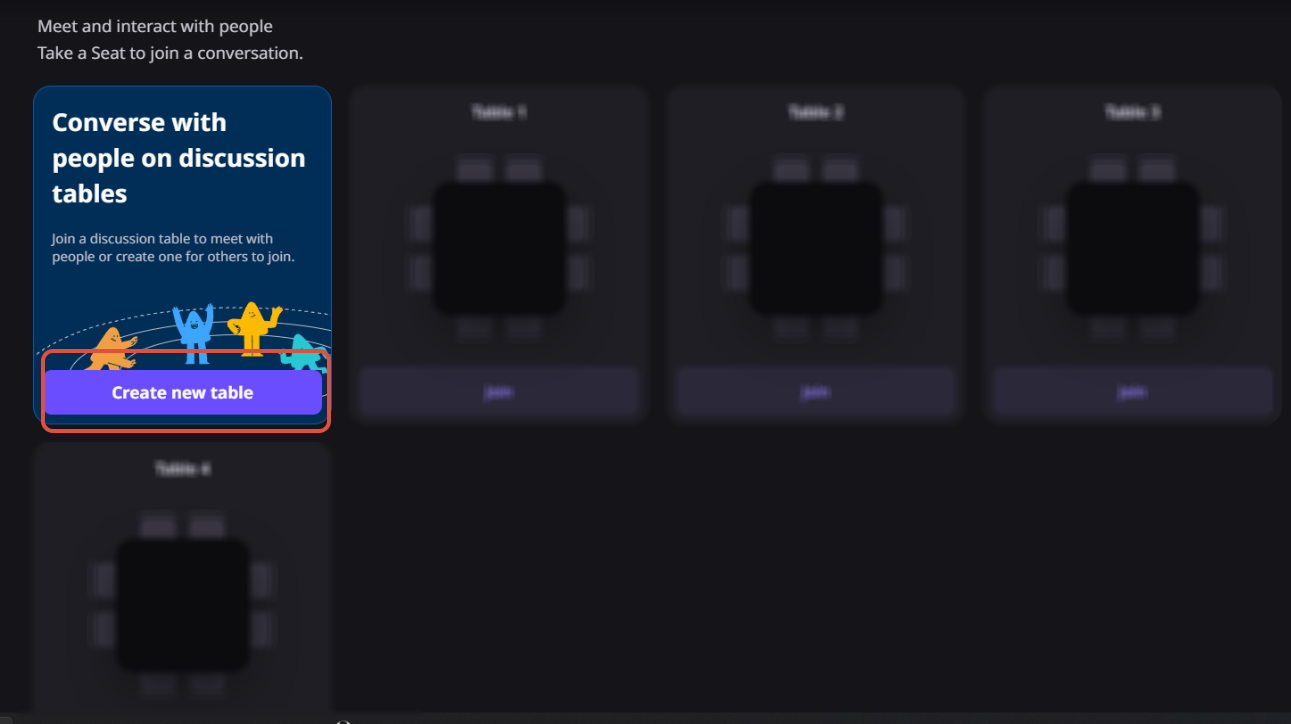
Join a discussion table to meet with people or create one for others to join.
To create the table, kindly follow the steps below:
Step 1: Go to the Social Lounge and find the "Converse with people on discussion tables" tile.
Step 2: Click on the "Create new table" button.
2.1. Configure your virtual table
Step 3: After clicking on the "Create new table", you can configure the table by providing a topic for the table, adding an image & deciding the number of seats.

Table topic: Enter a topic that participants will find interesting to join during the event.
Add an image: Add an image to the table which draws people to join.
Supported image formats are SVG, PNG, or JPEG. Maximum file size 500 KB.
Number of seats: You can fix tables if you want only a certain number of people on the table . Hover over the table > Click on 3 dots > Enter the Number of seats.
Step 4: Click "SAVE", and your table will be created for other participants to join you for networking & discussion.
Note: A participant can create 1 table ONLY at a time. You would be able to edit the same table but to add another table, you need to delete the current table.
2.2. Leaving/Deleting the virtual table
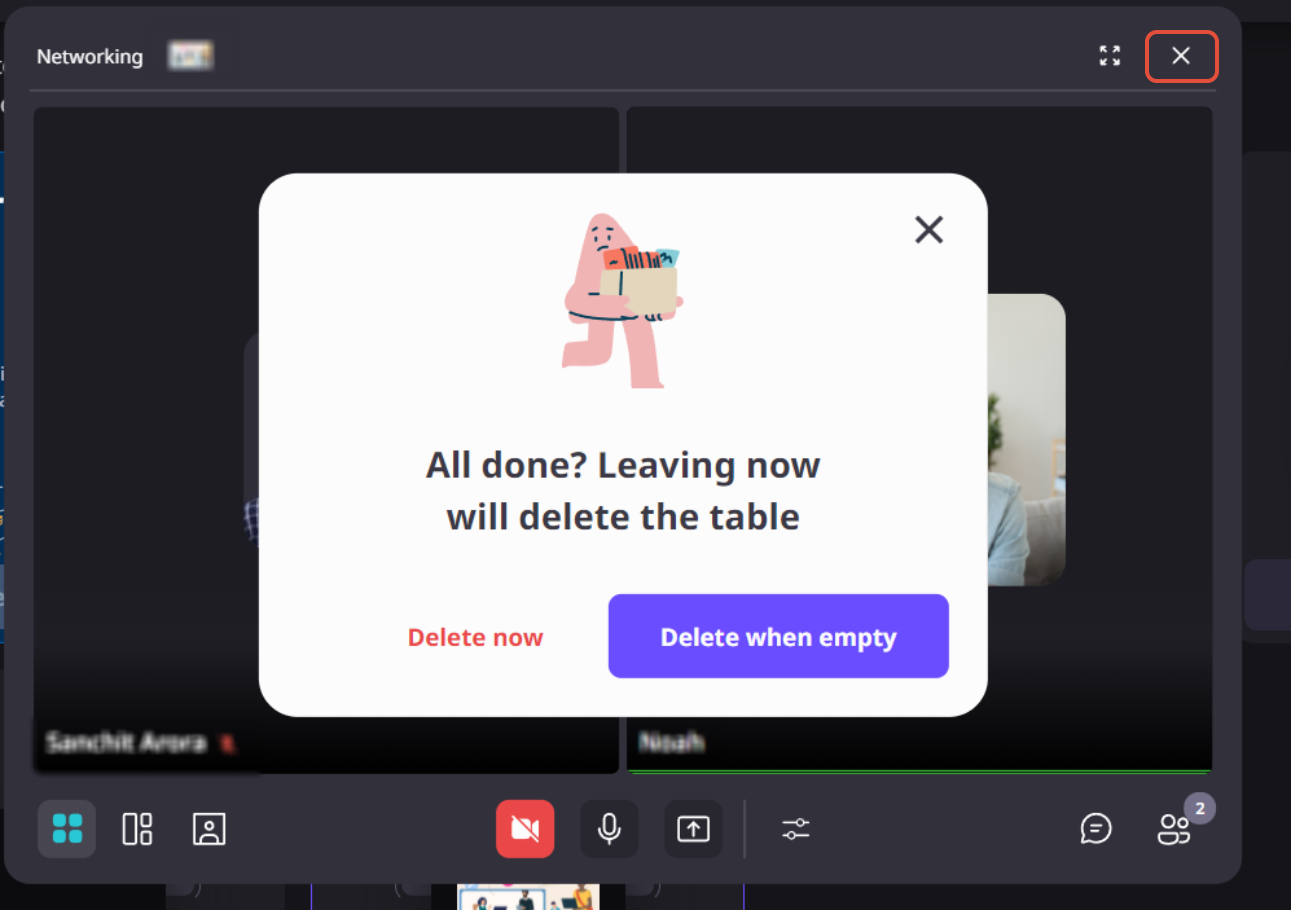
Once you're done with the discussion and plan to leave the table, the table will be deleted automatically.
The table creator will have the option to leave the table and delete it or can choose to leave and delete the table automatically once the last person on the table leaves.
2.3. No of the participants supported according to Airmeet plans
Attendee-Based Plans (Community created or upgraded after 12th October)
Older Plans (Activated before 12th Oct)
Plan | No of Chair(participants) / virtual table |
Free | Up to 8 participants |
| Premium Webinar | Up to 30 participants |
| Virtual Events | Up to 30 participants |
| All-In-Suite | Up to 30 participants |
| Appsumo | Up to 15 participants |
The event organizer & moderator has an additional chair reserved for them on a table.
Note: Airmeet also supports 50 participants/table on a request basis. Kindly reach out to our Sales representative or your Account manager.
3. Things to keep in mind
- The event Organizer needs to enable an Attendee-led feature for the attendee to create their table.
- An Attendee can create 1 table at a time only.
- Attendees joining from the mobile application would be able to join tables created by another attendee from their desktop/laptop but wouldn't be able to create their own table.
- Guest users (Attendees joining without registration when event entry "Register without email verification" is selected by event organizers) can't create an Attendee-led table.
Need more help? Contact support@airmeet.com or visit our Customer Support Lounge.
Was this article helpful?
That’s Great!
Thank you for your feedback
Sorry! We couldn't be helpful
Thank you for your feedback
Feedback sent
We appreciate your effort and will try to fix the article