

Overview
When Local Recording is enabled for a session, the recording process happens automatically for the speaker. Speakers do not need to manually start, stop, or upload their recording.
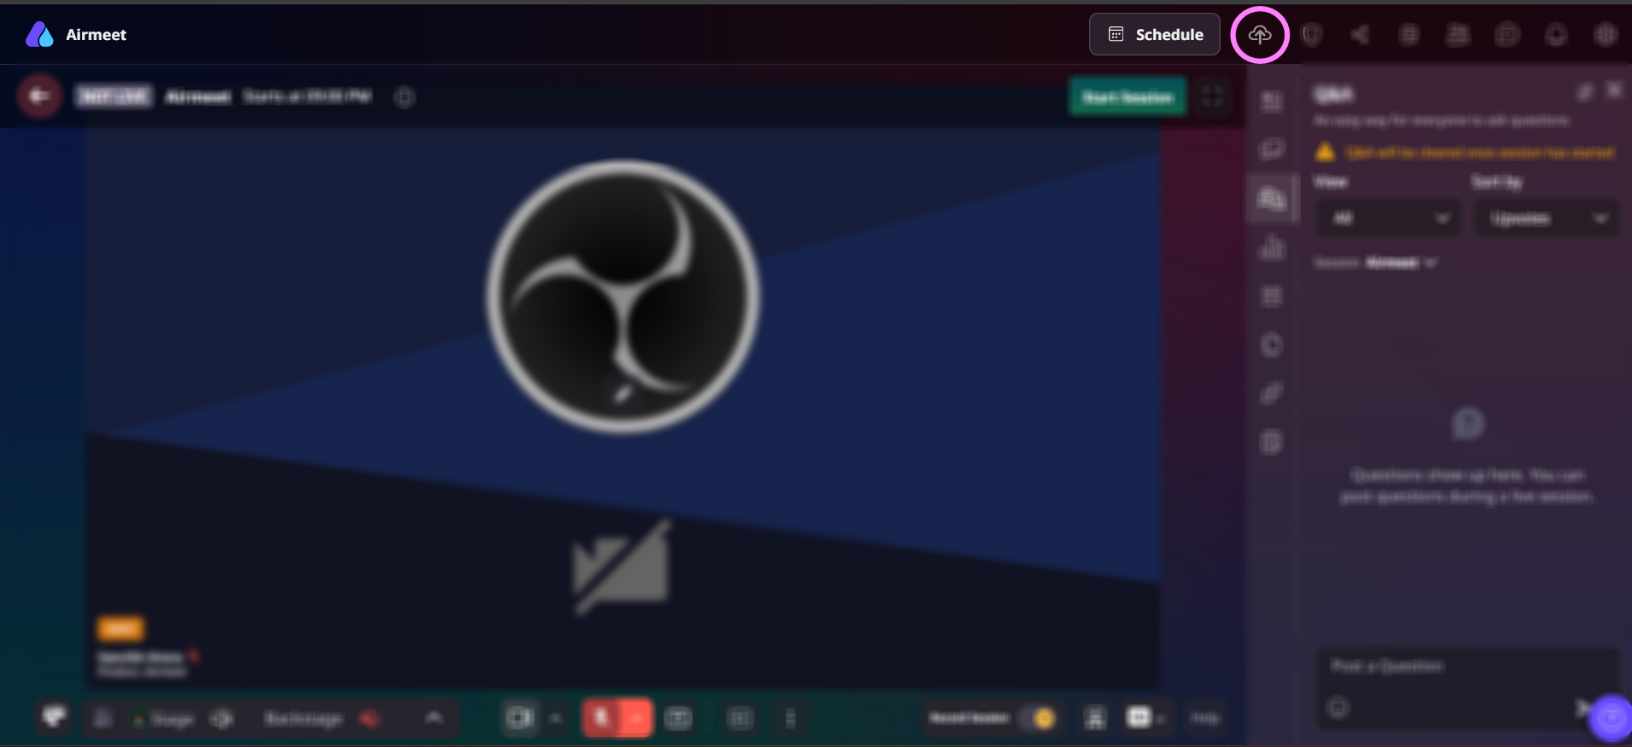
Step 1: Join the backstage or stage as you normally would. When Local Recording is enabled, you’ll see a Local Recording upload icon at the top of the session screen.
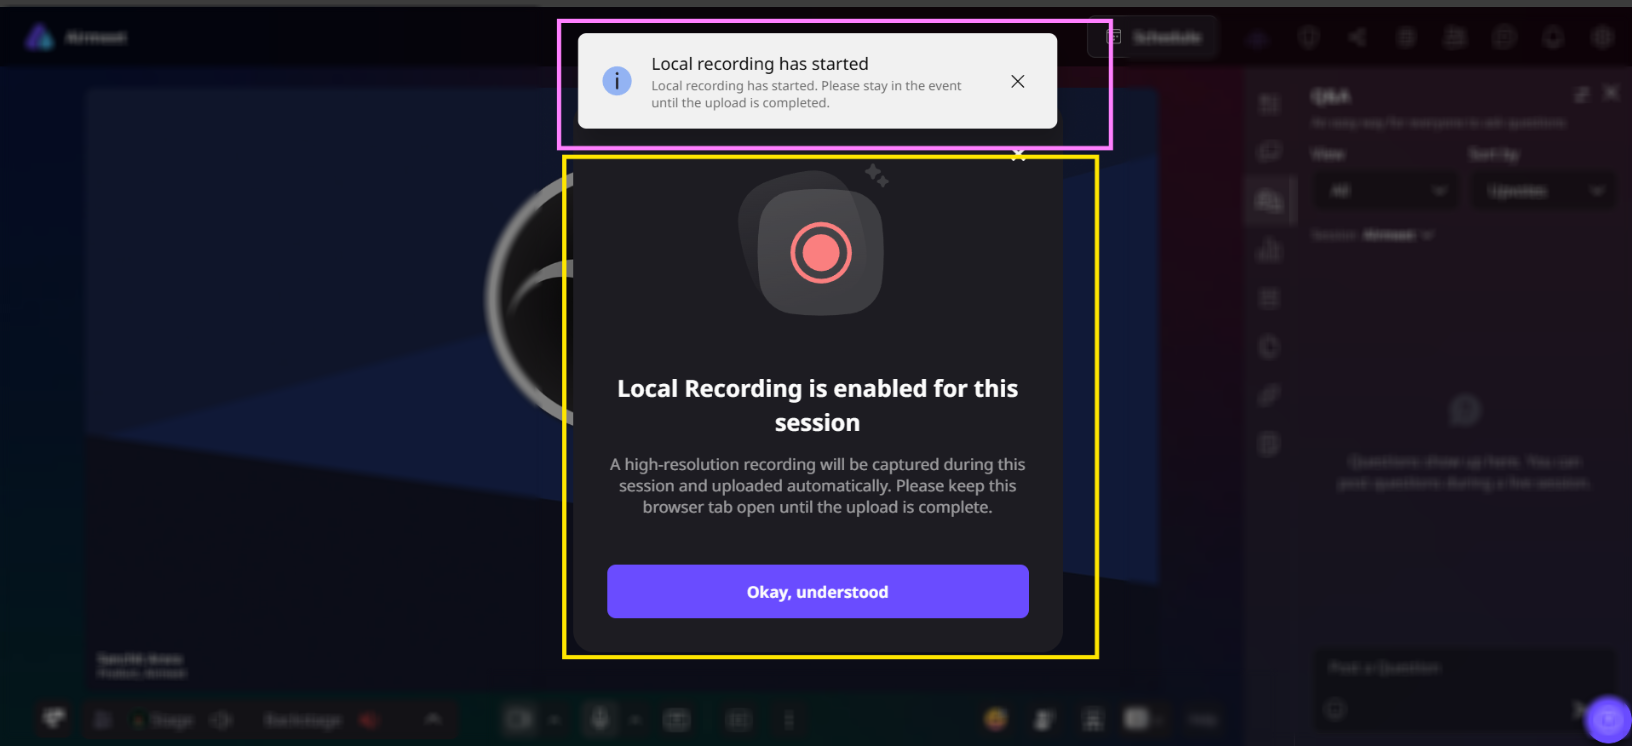
Step 2: Once the session starts, Local Recording begins automatically. You’ll see an information banner confirming that Local Recording is enabled for the session. Once you unmute your self or switch on your camera the recording starts and a toast message is displayed. No additional action is required from you.
Step 3: Your recording is uploaded automatically while the session is in progress. Hover over the Local Recording upload icon at the top of the screen to check the upload progress.
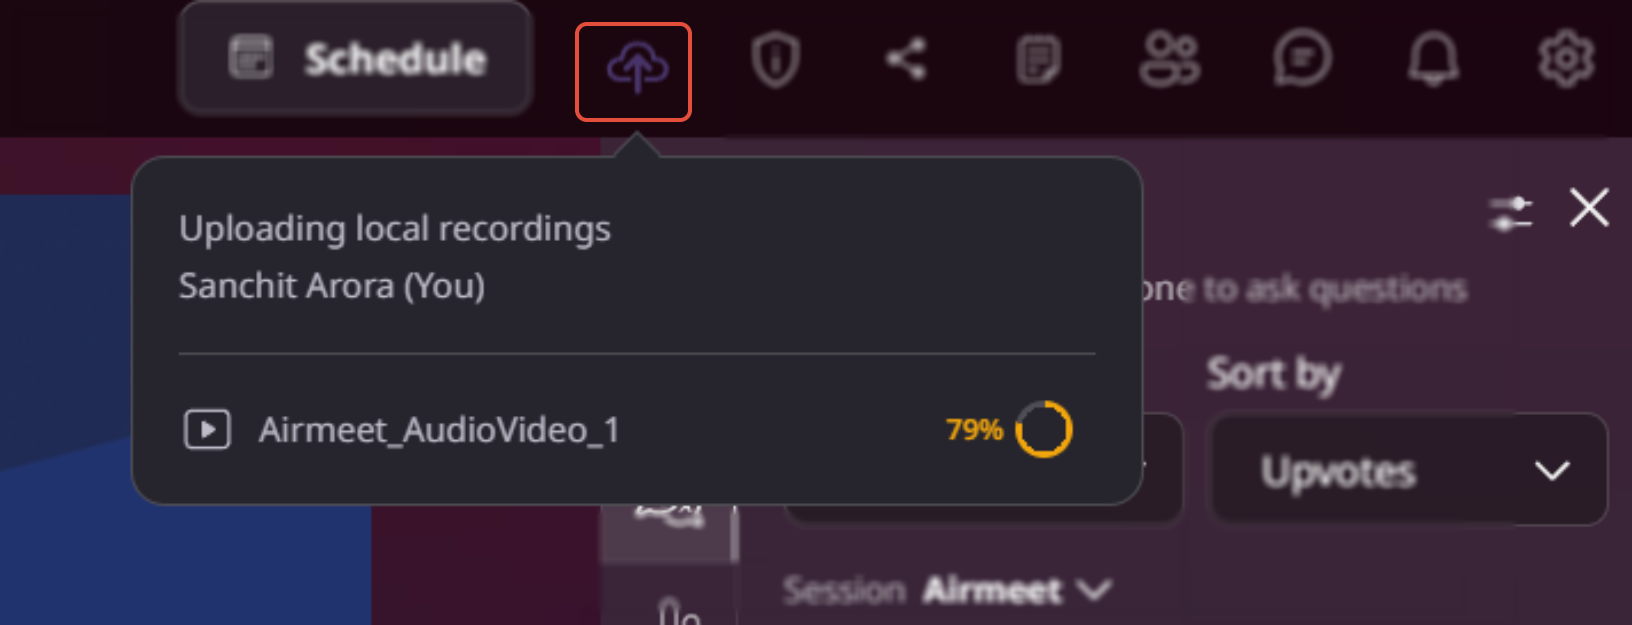
The upload status is indicated as:
Yellow: Upload in progress
Green: Upload completed
Red: Recording not found
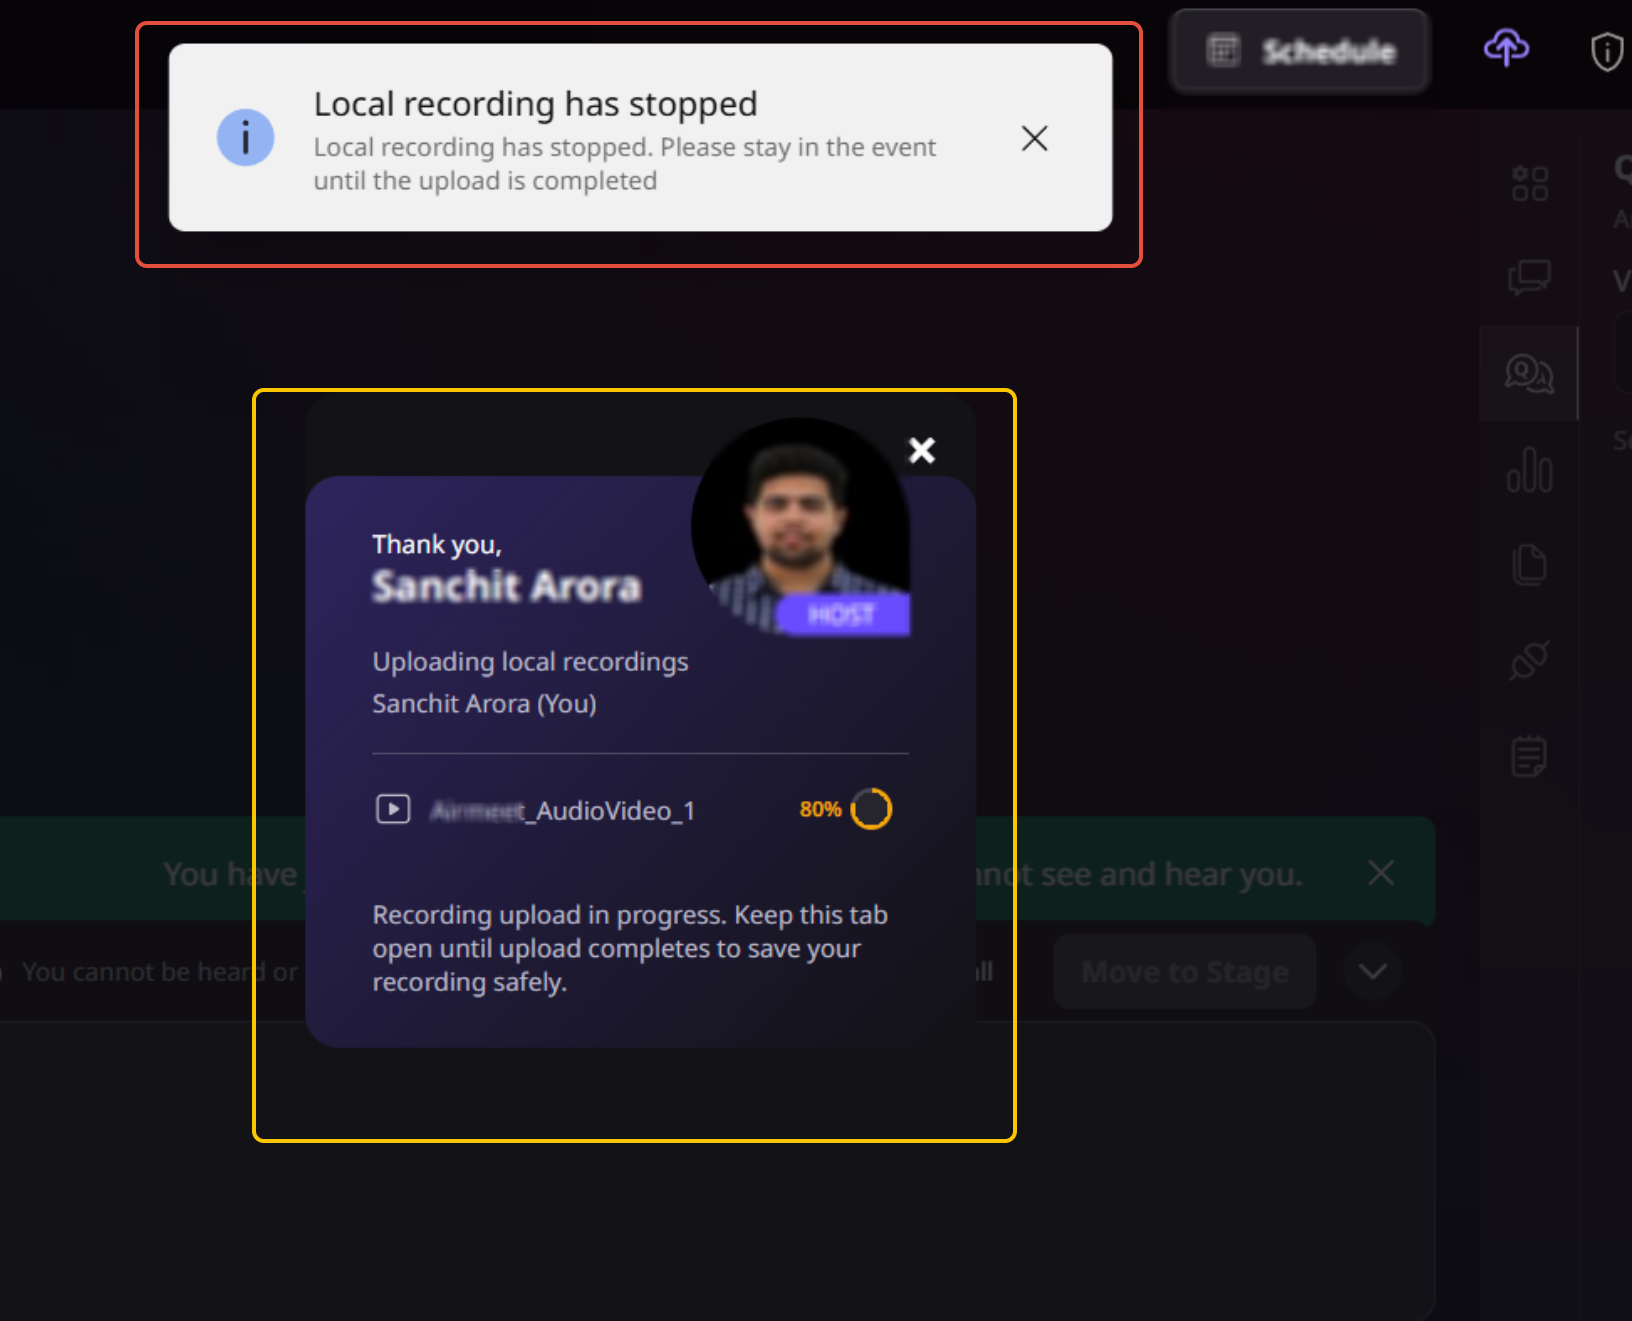
Step 4: When the session ends, Local Recording stops automatically. You’ll see a notification confirming that the recording has stopped, along with the current upload progress.
Important:
Keep the browser tab open. If your recording is still uploading after the session ends, keep the session browser tab open until the upload is complete. You can safely leave the session once the recording upload reaches 100%.
Read more
- What is the recommended setup for local recording enabled session(s)?
- Individual Speaker Session Recording | Airmeet
Need more help? Contact support@airmeet.com or visit our Customer Support Lounge.
Was this article helpful?
That’s Great!
Thank you for your feedback
Sorry! We couldn't be helpful
Thank you for your feedback
Feedback sent
We appreciate your effort and will try to fix the article